![[Previous]](image-lib/prev.gif) |
![[Contents]](image-lib/contents.gif) |
![[Next]](image-lib/next.gif) |
![[Previous]](image-lib/prev.gif) |
![[Contents]](image-lib/contents.gif) |
![[Next]](image-lib/next.gif) |
To create and edit a Japanese file in Photon, you can use the Photon Editor. To start the Photon Editor, click the ped icon.
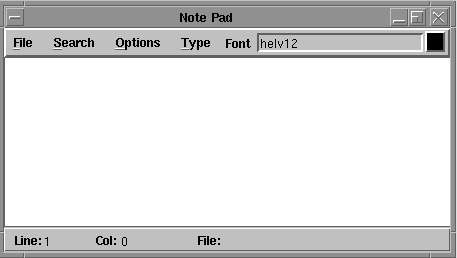
You can also type the command ped in a pterm window to start the editor. The Photon Editor looks like this:

 |
For more information about the Photon Editor, see the ped man page in the Photon Installation & Configuration Guide. |

 |
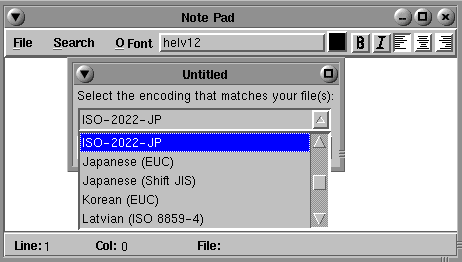
If you're opening an existing Japanese file, you must specify the encoding that matches your file before you open it. If the encoding doesn't match, you won't be able to read the file. If you can't read a Japanese file, try a different encoding option. |

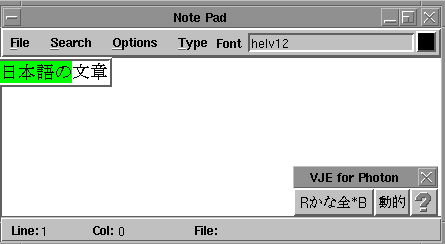
By default, the font style and size is Helvetica 12. However, you can type in Japanese characters without selecting a Japanese font.

 |
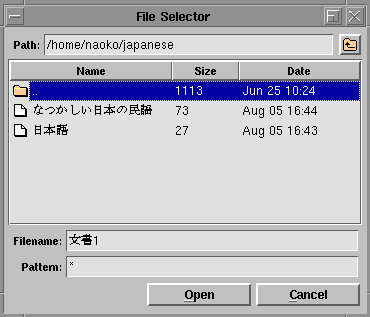
A Japanese filename cannot be entered in the Photon shell (pterm) and will not be displayed as Japanese characters in the pterm display. |
![[Previous]](image-lib/prev.gif) |
![[Contents]](image-lib/contents.gif) |
![[Next]](image-lib/next.gif) |