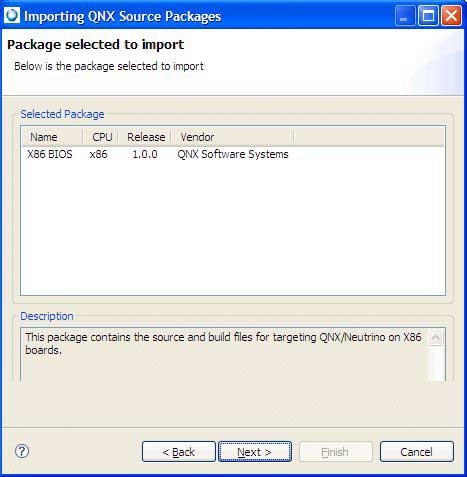
To copy a QNX source package into your workspace:
- In the Import wizard (), expand QNX, choose QNX Source
Package, and then click Next.
The IDE shows the Import QNX Source Package panel.

- Select an installed source package from the Known Packages
list.
You can also enter the full path to a source package (.zip file) in the Filename field, or click the Select Package… button to browse to a source package.
- Click Next to continue.
The IDE shows the Select Source Projects panel.
- All of the projects in the source package are imported by default. Uncheck any
projects you don't need to import. Click Next to continue.
The IDE shows the Select Working Set panel.
- To change the working-set name for the imported projects, enter a new working-set
name in the Working Set Name field, or select one from the
drop-down list.
To change the project name prefix, enter a new prefix in the Project Name Prefix field. This is prepended to the name of each project imported from the source package.
To change the destination directory for the projects, enter a new path in the Directory for Projects field, or click the Browse… button to select one. The default is your IDE workspace.
- Click Finish to import the projects.
The IDE imports the selected projects from the source package and shows the Build Projects dialog.
- Click Yes to build all of the projects that were just imported. Click No to return to the IDE.